Faldo Course
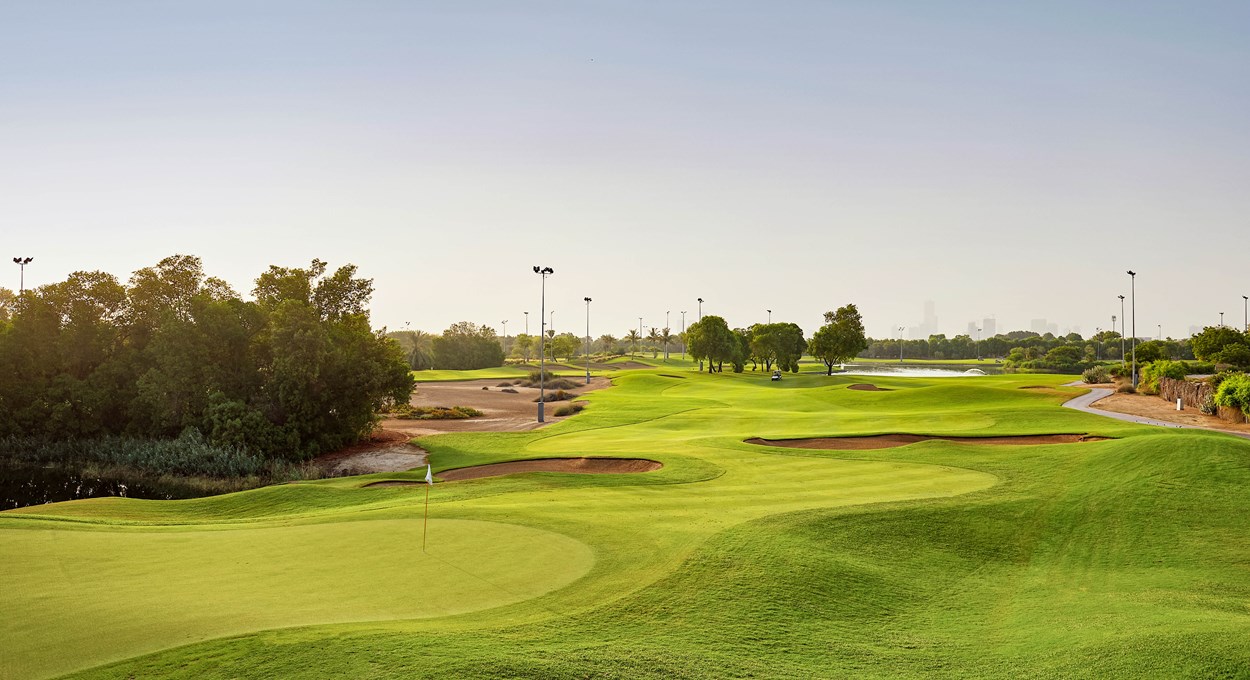
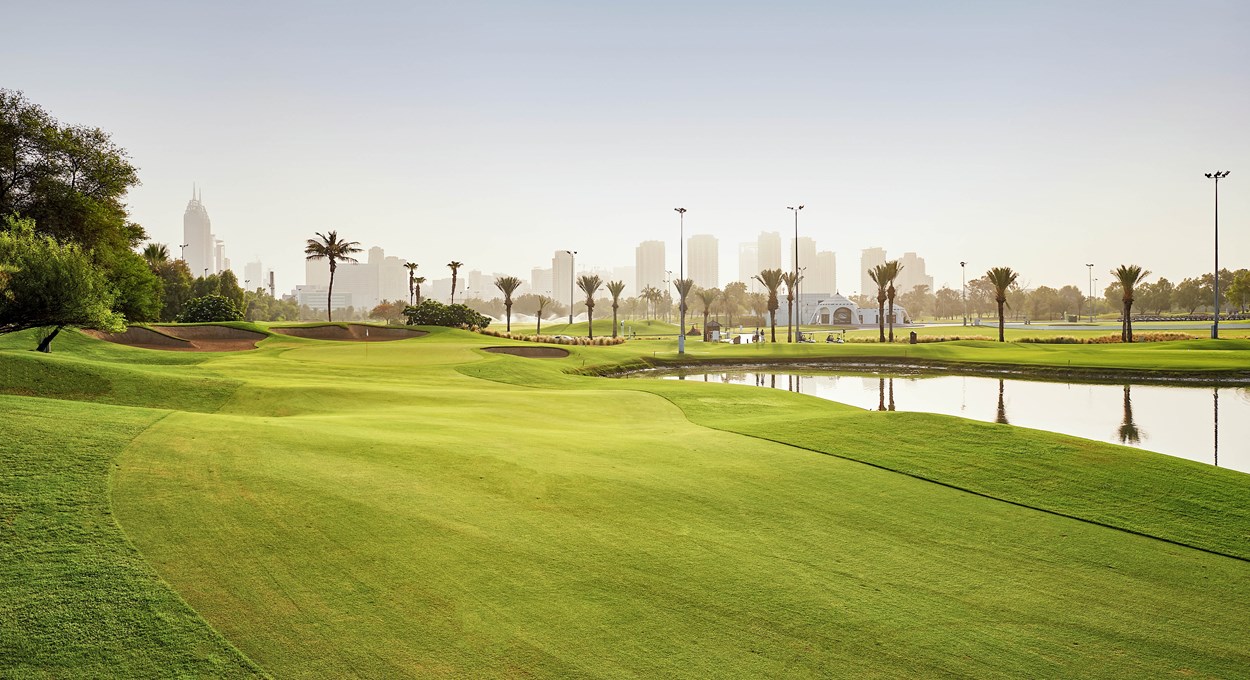
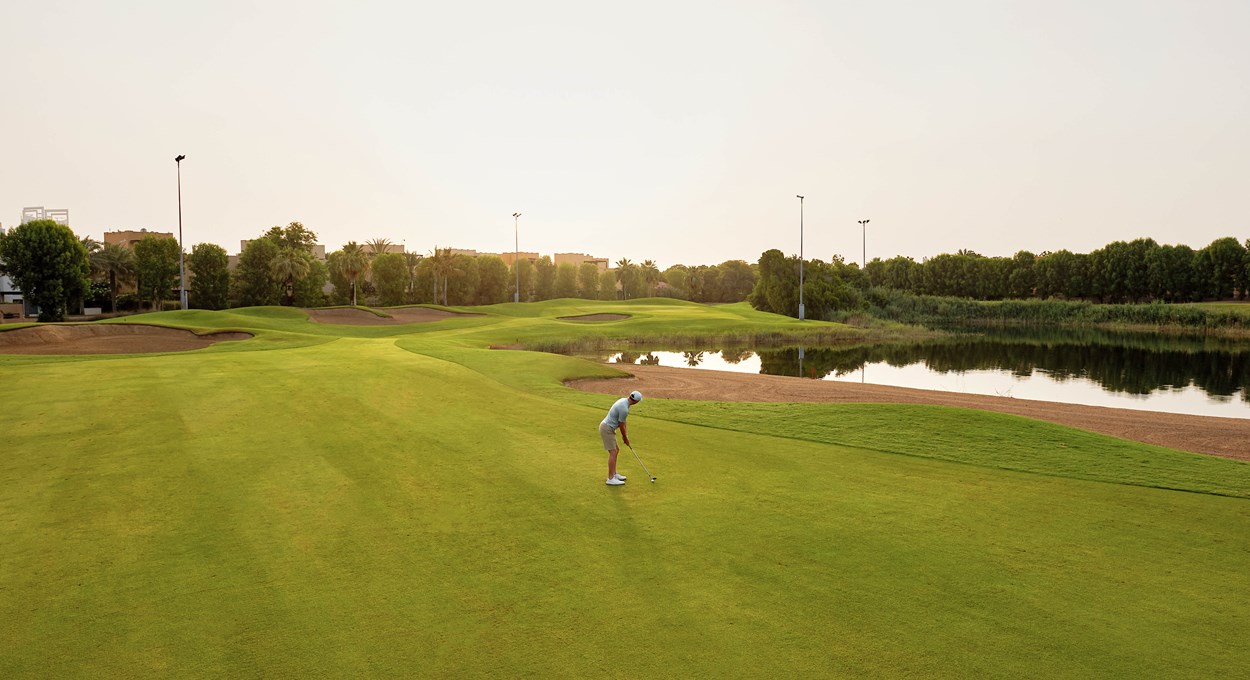
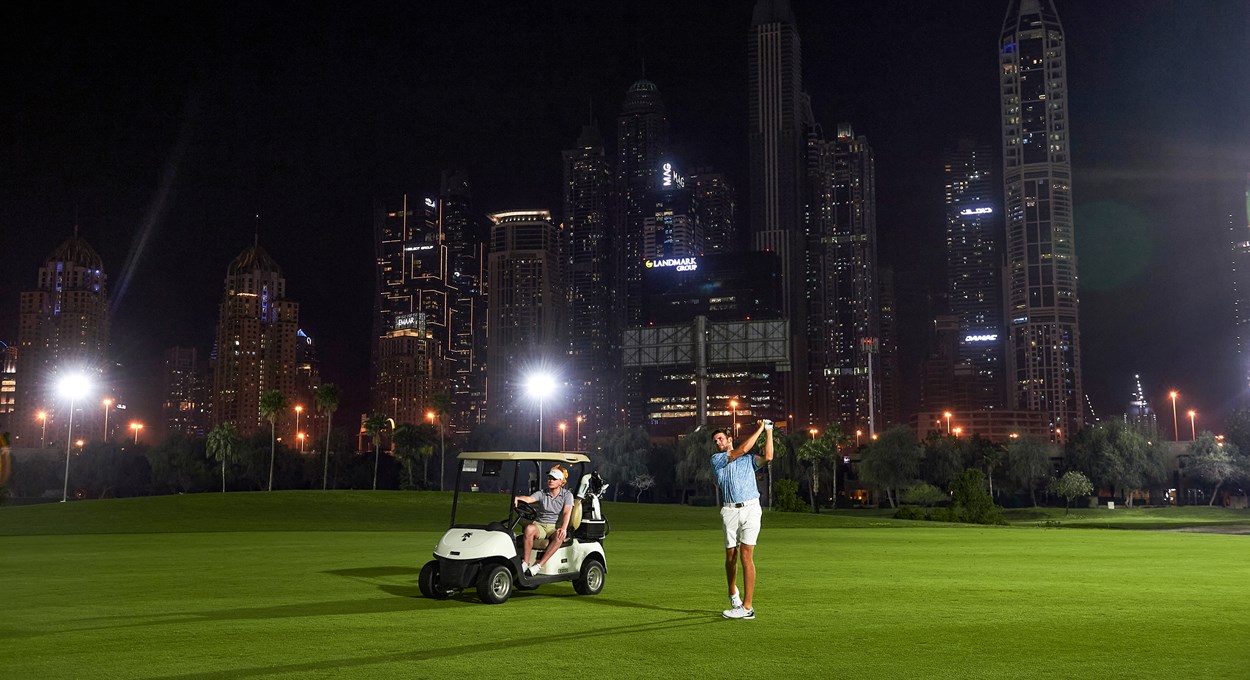
Faldo Course at Emirates Golf Club, Dubai, stands as a beacon of golfing excellence, offering an extraordinary experience both day and night. Originally named 'The Wadi', this championship golf course opened its doors in 1996, drawing inspiration from the Arabic word for 'valley'. Renowned golf legend and six-time major winner Nick Faldo lent his expertise to redesign the course in 2005, resulting in a perfect blend of stunning visual design and the exacting challenges expected of a championship course.
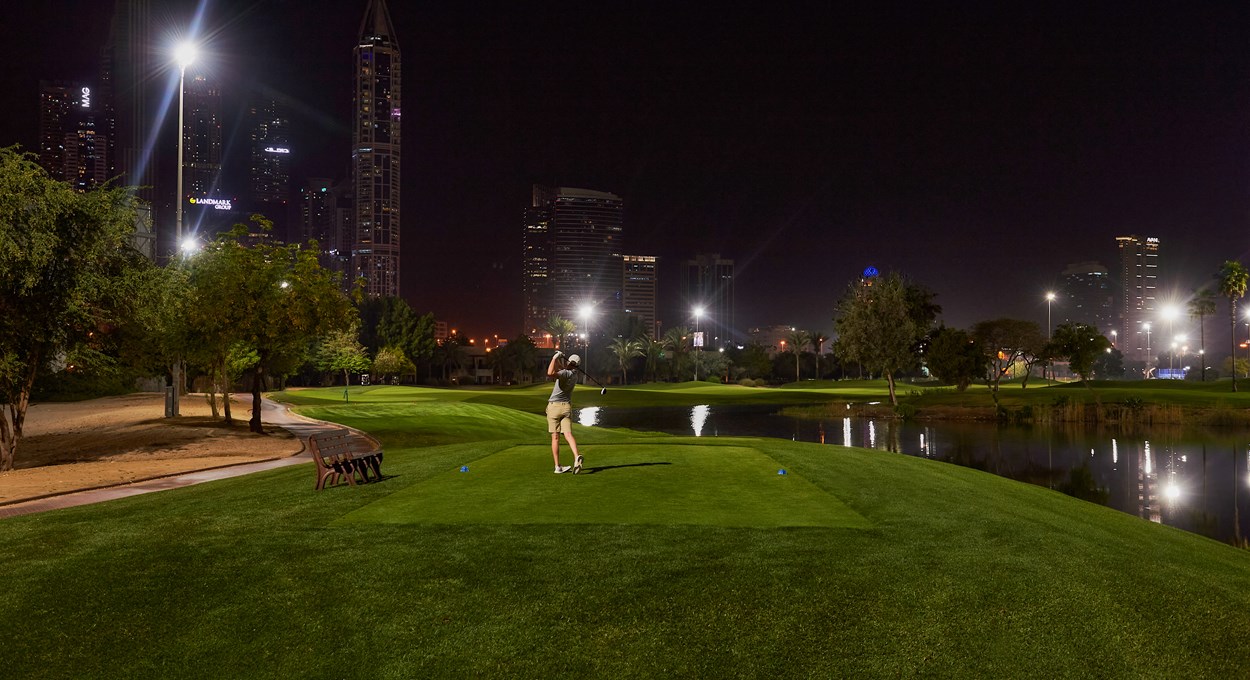
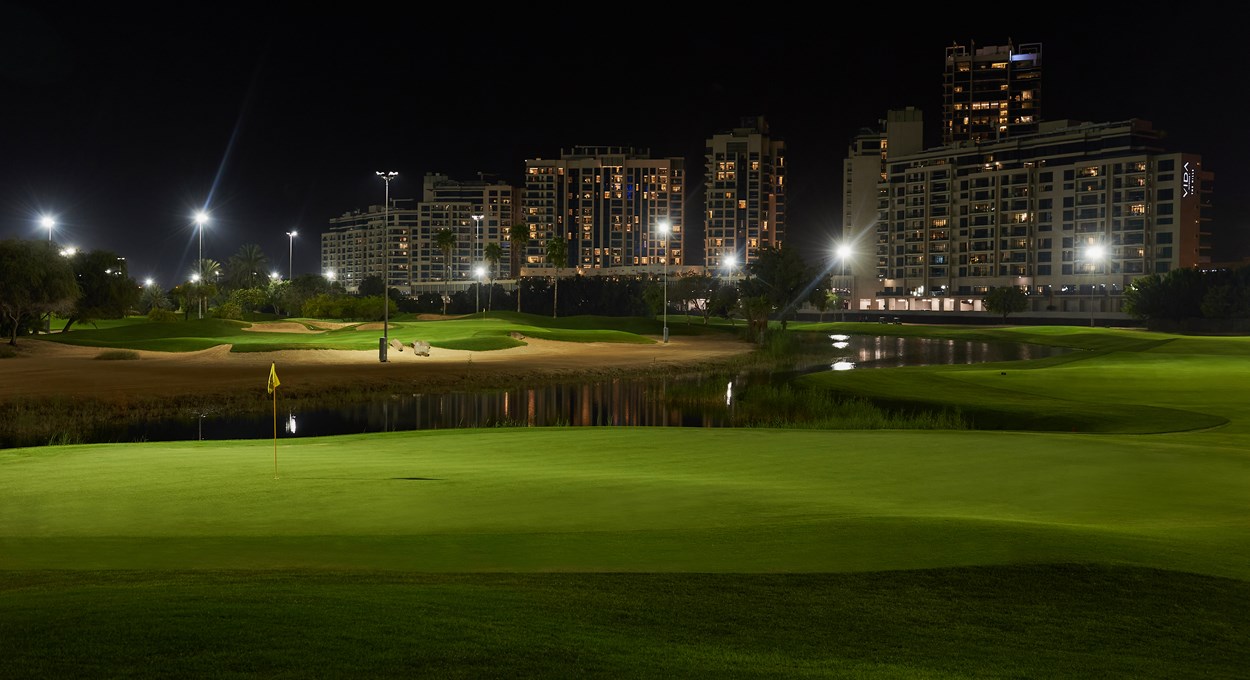
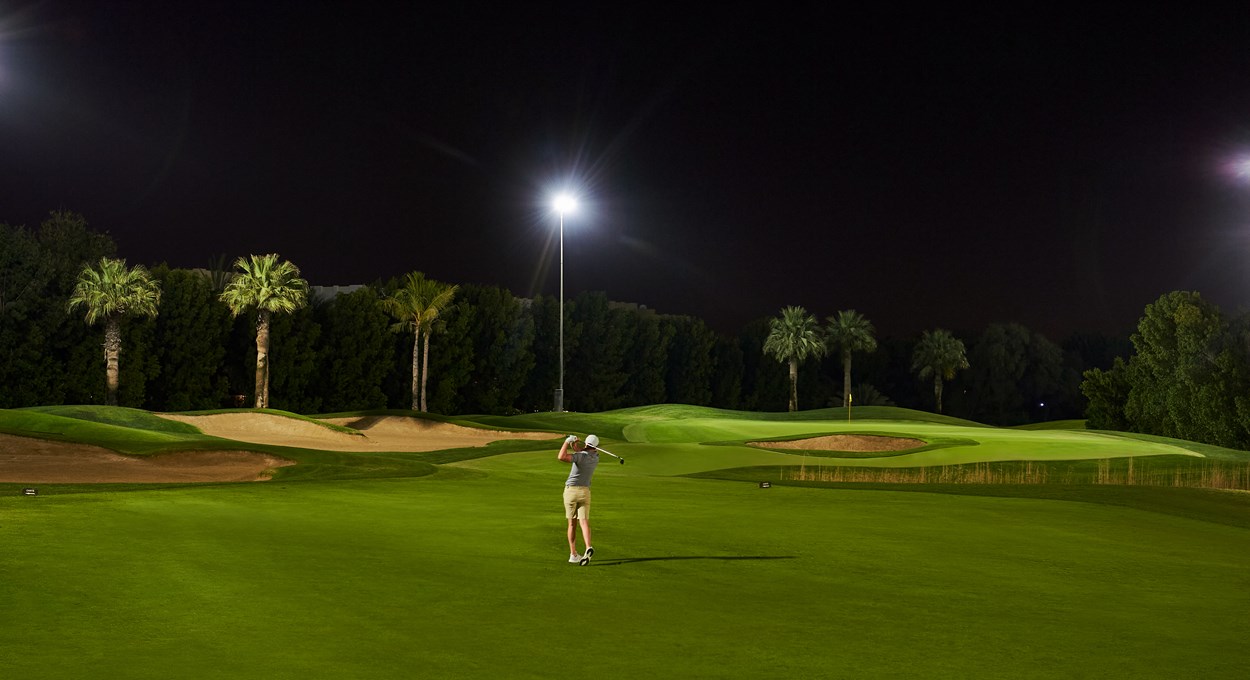
Reintroduced as 'The Faldo' in October 2006, this par-72 masterpiece has swiftly become a favourite among golf aficionados. Its allure extends beyond daylight hours, thanks to the incorporation of LED floodlights throughout the course. This innovation allows players to enjoy the thrill of night golf, adding a magical dimension to an already exceptional golfing experience.
Emirates Golf Club's Faldo Course has consistently captivated visitors with its unique offerings. Whether navigating the challenges of its 7,052 yards during the day or embracing the enchantment of night golf under the starlit Dubai sky, players are guaranteed an unforgettable and thoroughly enjoyable golfing adventure.
Interactive Course Walk Through
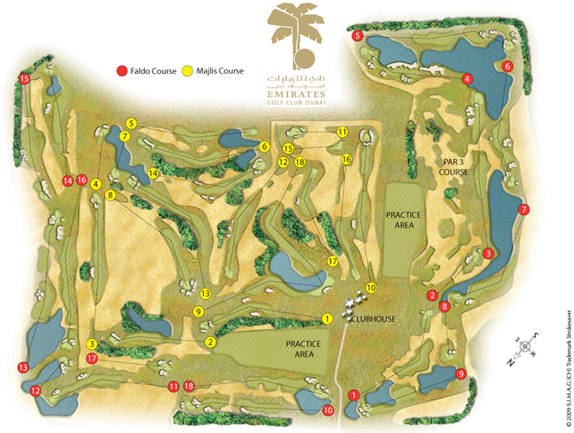
The Majlis and Faldo Course hole by hole walkthrough
Click on any of the hole numbers highlighted on the map to view information for that hole. Holes highlighted in red represent the Faldo Course while the yellow holes are part of the Majlis Course.
All distances shown are in yards
From Tee in Red To Green Centre in Black
The Faldo Course 1
-
 432 Yards
- Stroke Index 6
The first hole is a tricky opener that needs great care and where the driver is probably not for everyone. The tee shot should favour the right-hand side in order to get a clear view of the elevated green for the approach. However, too far right leaves a challenging second shot over the rocks that protect that side of the green.Too far left, on the other hand, leaves a sand shot from the wadi waste area. Check the flag position. It is important to get the ball pin-high to avoid a difficult putt on this undulating green.
All distances shown are in yards
From Tee in Red To Green Centre in Black
The Faldo Course 2
-
206 Yards
- Stroke Index 16
At 206 yards from the championship tee, the first of the par 3's favours a right to left shaped tee shot, although care should be taken to avoid the bunker guarding the left of the green. With a run-off area to the back left and bunkers protecting the front left of the green, club selection is paramount. The most forgiving place to leave an approach shot is short of the green, giving the chance to chip up to the flag.
All distances shown are in yards
From Tee in Red To Green Centre in Black
The Faldo Course 3
-
546 Yards
- Stroke Index 12
This introductory par 5 requires a blend of strategy, power and finesse. For the tee shot, avoiding the wadi waste area that envelopes both sides of the fairway affords long drivers the opportunity to go for this green in two. For those laying up, make sure yardages are accurate in order to avoid a series of deep bunkers.Distance control should continue to take precedence with the third shot to avoid getting into three-putt territory.
All distances shown are in yards
From Tee in Red To Green Centre in Black
The Faldo Course 4
-
375 Yards
- Stroke Index 8
A heavily guarded fairway with traditional Faldo design bunkers monopolising the left, and water dominating the right, makes this a tough tee shot. Ideally, the ball should be placed at the widest part of the fairway, between the second and third bunkers from the tee. A straightforward second shot leads into a green that is marked with danger, given its undulating slopes and run-off areas.
All distances shown are in yards
From Tee in Red To Green Centre in Black
The Faldo Course 5
-
555 Yards
- Stroke Index 10
Don't be afraid to get the driver out on this hole to take advantage of an extremely generous fairway and wide landing area. However, beware of the deep and punishing bunkers that protect the lay up area for the second shot, and ensure that you choose a club that will get the ball safely over the water and bunker hazards on the approach to the green. There is no easy putt on this green. Play for two putts and move on to the next hole.
All distances shown are in yards
From Tee in Red To Green Centre in Black
The Faldo Course 6
-
439 Yards
- Stroke Index 4
Though pleasing to the eye, pinpoint accuracy is required from start to finish on this par 4. A tough tee shot avoiding out of bounds, bunkers and a lone tree in the fairway, makes this an extremely challenging hole. Play the percentage shots and double check yardages to walk away with a blemish-free scorecard.
All distances shown are in yards
From Tee in Red To Green Centre in Black
The Faldo Course 7
-
426 Yards
- Stroke Index 2
Possibly the toughest tee shot on the course, water hugs the right side of this dog-leg from start to finish. Once the tee shot has been negotiated, the second should be aimed at the left of the green to find the putting surface, thus avoiding the water that lies to the front and right. Don't be overly aggressive on this hole and maintain distance control to avoid lurking trouble.
All distances shown are in yards
From Tee in Red To Green Centre in Black
The Faldo Course 8
-
173 Yards
- Stroke Index 18
A tricky, uphill par 3 to a largely concealed putting surface puts all the emphasis on club selection. The ideal shot will shape from right to left moving around behind the bunkers into the centre of the green. Any shot staying to the right will end up in a relatively safe position, from where a chip and putt par can be made.
All distances shown are in yards
From Tee in Red To Green Centre in Black
The Faldo Course 9
-
363 Yards
- Stroke Index 14
Though rated the easiest hole on the course, this par 4 needs full concentration. The fairway can punish with its unpredictable slopes, leaving an awkward lie for the second shot to a well-protected green. Favour a short tee shot to provide a flatter lie, thereby making the hole, and the end of the first nine, that bit easier.
All distances shown are in yards
From Tee in Red To Green Centre in Black
The Faldo Course 10
-
509 Yards
- Stroke Index 13
Prepare to use the driver! A generously wide target from the tee allows the luxury of hitting a long drive, relieving some of the pressure from the next shot. A long iron or wood to a green, protected by bunkers at the front and a run-off area to the back right, makes for a challenging second shot. It may be wise to favour the left of the green to steer away from potential trouble spots.
All distances shown are in yards
From Tee in Red To Green Centre in Black
The Faldo Course 11
-
450 Yards
- Stroke Index 9
The back nine continues in the same vein as it started, with another challenging hole. At 450 yards, the tee shot should not pose too many problems with a large target on offer. However, it is the second shot to this green, protected by water left and back as well as a cavernous bunker on the right, that will test the finest of ball strikers. Beware! Any shot slightly left of the green will be water bound.
All distances shown are in yards
From Tee in Red To Green Centre in Black
The Faldo Course 12
-
158 Yards
- Stroke Index 17
A nice par 3 requiring a shot of no more than 158 yards for the opportunity to put the ball close to the hole for a birdie. Bare in mind however, it is the green that provides the protection for this hole as it slopes severely downhill from right to left. .
All distances shown are in yards
From Tee in Red To Green Centre in Black
The Faldo Course 13
-
581 Yards
- Stroke Index 15
A beautiful par 5, and another fine example of Faldo-style bunkering. Be sure to have a clear strategy for this hole from the outset. Lead out with a straight tee shot to avoid the wadi waste area that meanders through this hole. The second shot is the key to the hole. Put in the right position, it will allow a more aggressive play for the third shot, setting up a potential birdie.
All distances shown are in yards
From Tee in Red To Green Centre in Black
The Faldo Course 14
-
389 Yards
- Stroke Index 1
Judge the distance that provides a comfort zone for the second shot before committing to the tee shot on this hole. A deep and punishing wadi waste area runs down the right of the fairway, while the left features a taxing bunker. Anything finishing in either hazard could spell trouble with the second shot from sand over water. The green, one of the narrowest on the course, needs a shot of great accuracy and it is advisable to double-check the yardage before play. A lovely feature on the 14th fairway is the indigenous Gaff tree preserved from the original Wadi course. .
All distances shown are in yards
From Tee in Red To Green Centre in Black
The Faldo Course 15
-
433 Yards
- Stroke Index 3
Without doubt, the 15th hole combines a visual treat with the opportunity to play some great golf. Signature Faldo style bunkering down the right of the fairway waits to claim any errant tee shot. A well-placed drive leaves a second shot to the green, but only after negotiating the bunker that runs the length of the left side. Otherwise, prepare for an uncomfortably long bunker shot.
Enjoy the challenge!
All distances shown are in yards
From Tee in Red To Green Centre in Black
The Faldo Course 16
-
597 Yards
- Stroke Index 7
The 16th hole is a true par 5 in every sense, requiring three well-executed shots. Get as much initial distance as possible with a driver from the tee. Follow up with a fairway lay up, ideally as close as possible to the wadi waste area in front of the green. The key to making a par or better after a good lay up is to avoid the two treacherous bunkers either side of the green with the third shot. Negotiating two putts on this green and walking away with par is a hole well played.
All distances shown are in yards
From Tee in Red To Green Centre in Black
The Faldo Course 17
-
231 Yards
- Stroke Index 11
The longest par 3 of the course needs some accurate, long play to set up a chance of a birdie. Consider a long iron or wood to safely reach the green, keeping in mind the bunkers and run-off areas that guard it. At 48 yards from front to back, avoid any long putt challenges on the green by getting the ball pin high. Again, it is a hole where par is a very pleasing result. .
All distances shown are in yards
From Tee in Red To Green Centre in Black
The Faldo Course 18
-
485 Yards
- Stroke Index 5
A true test of golf mettle to finish. The driver should be in every player's hands on this tee shot, but distance should not give way to accuracy as it is crucial to get a line capable of avoiding the wadi waste area that cuts into the fairway on the right hand side. A wood or long iron is the natural choice for a second shot that also calls for precision and nerve to manoeuvre past the dramatic cluster of bunkers to the left, and the water guarding the right of the green. Once on the green, most of the hard work is already done, but take time to read the slopes. Concentration to the end will pay dividends as a par on this hole makes for an exhilarating end to the round.
The course record for the Faldo Course is held my Michael Harradine, who shot a 66 during Round One of the Men's Club Championship on 20th January 2012.
Dress Code
The Club may impose prescribed standards of dress to respect local culture where appropriate. Emirates Golf Club operates a soft spike policy. Metal spikes are not permitted. Valid handicap certificates are mandatory, with the maximum handicap indexes set as follows; Men - 28 handicap and Ladies - 36 handicap. This will ensure they enjoy the golfing experience on both of our courses, Majlis and Faldo.
Golfers must wear, collared golf top and golf shorts, skirt or trousers. Players who are not wearing the proper golf attire will be requested to change before resuming practice or play, as advised by our Golf Operations team.
The following are not permitted:
- Tee Shirts
- Denim/Jeans
- Sports/Gym Clothing
- Pool Wear
- Cargo Shorts
- Sandals or Flip Flops
- Metal Spiked Golf Shoes
- National Dress
Green Fee Rates
To search rates and tee times, please download Viya App for free to receive the best available rates and receive up to 10% back in spendable rewards with every golf booking made, available to use on golf, dining, leisure and entertainment at over 300 locations across the UAE.
- Green Fee is inclusive of shared golf cart hire (excluding during walking season as advised by the Golf Operations team) and Driving Range access for one-hour before play.
- Minimum Handicap Requirement: 28 for Men, 36 for Ladies
- Peak Green Fee rates apply on Friday, Saturday and Sunday, inclusive of public holidays.
Equipment Hire
| Golf Club Set Hire (18 Holes) | AED 255 |
| Golf Club Set Hire (9 Holes) | AED 150 |
| Shoe Hire | AED 90 |
Note:
- All prices are in UAE Dirhams (approximately AED 3.7 to US$1)
- All prices are inclusive of 5% VAT
For more information, please call +971 4 417 9800 or email ereservations@dubaigolf.com.